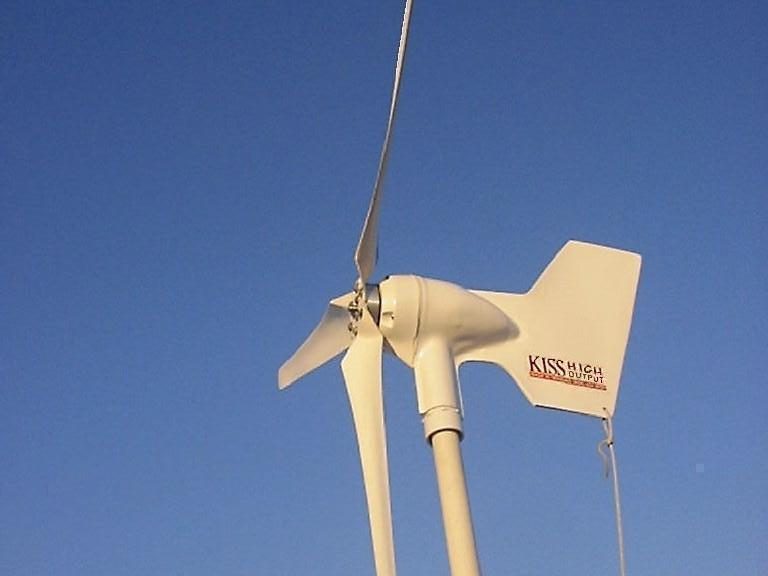
I sell a kit, or you can buy individual pieces. The hardware kit includes all the parts needed except for the fasteners that will be going through the deck (I don’t know what size you need), The hardware kit does not include the pole and struts. They are too long to be shipped by UPS or FedEx, and so would have to go by truck (much more expensive). If yours is from Trinidad, the easiest pole material to work with is 1 1/2 inch schedule 40 aluminum. This is available in a variety of finishes, from no treatment to bright. A local metals dealer or welding shop can get it for you. The struts are one inch stainless tube, 0.065 wall thickness. 304 is OK, but 316 will not require periodic polishing (at a higher cost, of course). Stainless tube can be used for the pole, but might require a custom machined pole cap. I can ship the pole if you also purchase the vibration isolator, because the pole can be shorter. I have a white powder coated pole or bright finish.
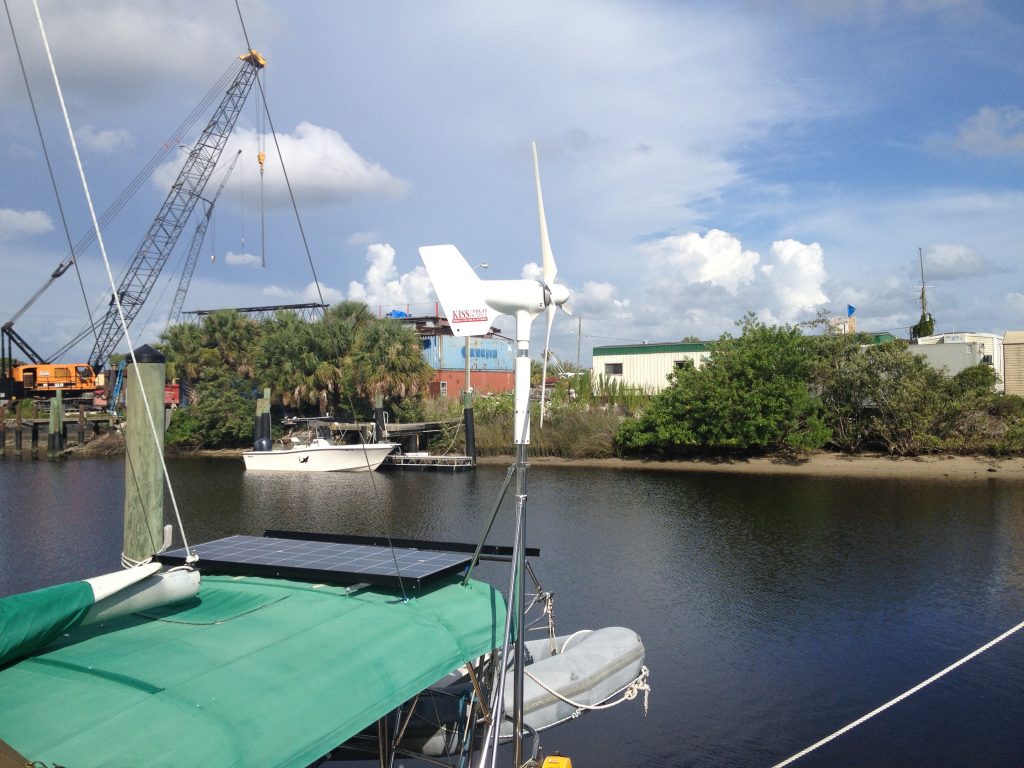
Pole with vibration isolator 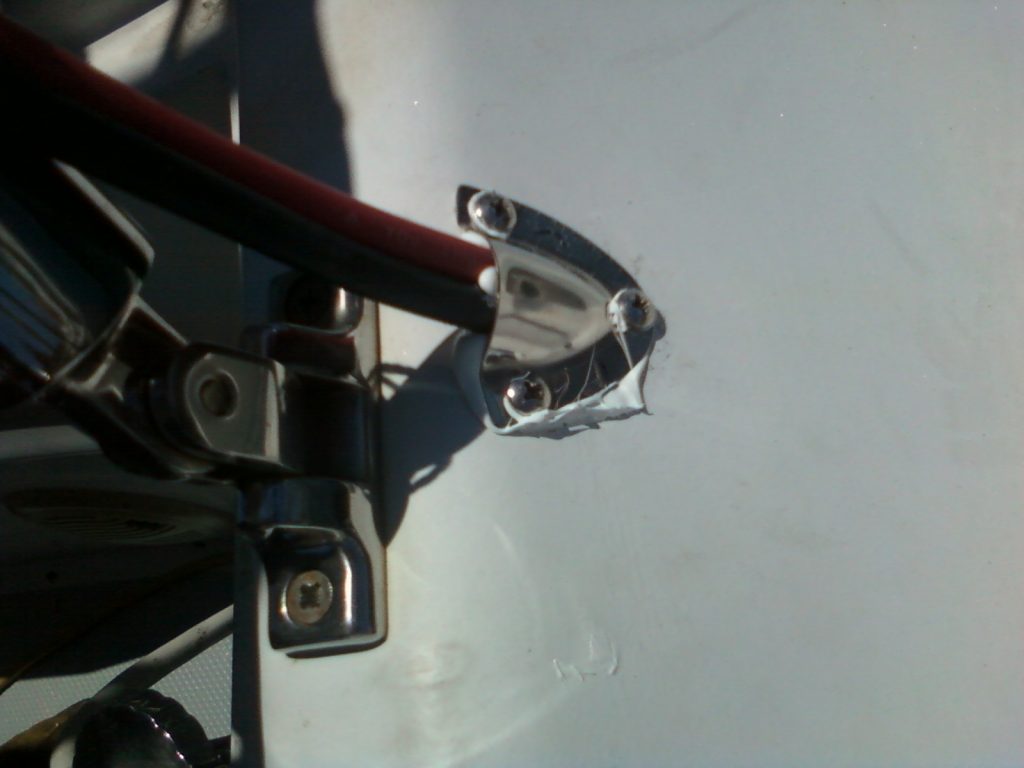
my favorite through deck
Kit with pole … $345
- Hardware kit without pole and struts … $175
- Vibration isolator … $145
Hotwire’s Pole Mounting Instructions
You’ll need the following: * general hand tools
* good quality 11/64 or 5/16 and 3/8 drill bits
* a friend to help
* a marker (pencil, felt tip pen, etc.) or tape
* through deck hardware, backing plates or fender washers
* sealant
Choosing the location for your pole:
Mount the pole base and strut bases in a location that is fairly stiff. Near the intersection of the deck, transom and topsides is a good choice. Avoid large expanses of unsupported fiberglass, as it might act like a speaker allowing vibration to be noticeable below. If possible, orient the pole base so that the generator can be mounted on the pole and then the assembly rotated up into the air. Use a backing plate or fender washers inside the boat and use your favorite waterproof sealant. If you are supplying the pole and struts, the preferred pole (for the KISS) is 1½ inch schedule 40 (1.600 ID, 1.910 OD) aluminum pipe. The pole should be high enough that there is little danger of getting fingers into the blades (9.5 to 11 feet above deck). The struts should be one inch stainless tube 0.065 or 0.051 inch wall thickness of the type typically used for bimini tops.
Installing the pole:
At the bottom of the pole drill two holes, 180 degrees from one another, ½ inch from the bottom of the pole. Install the bottom of the pole onto the pole base with the supplies nylon washers if the pole is aluminum, and no washers if stainless. Install the clamps onto the pole about 30 inches from the pole top with one open end pointed towards the strut base. Install the plastic insulators with the ends at the open part of the clamp. The bimini top eye will mount between the clamp halves, with a plastic washer on each side between the clamp and the eye. Tighten the end of the clamp with the eye first.
Push the strut eyes firmly onto the top ends of the struts. Drill completely through the one-inch stainless tube from each side – trying to drill both holes from one side will cause the bit to break. Avoid overheating the drill bit. Install a bolt and nut onto each strut/eye assembly and tighten.
Have a friend hold the pole straight up at your selected mounting location. Position the strut bases such that the angle between the pole and strut is close to 45 degrees when viewed from the side and the angle between struts is close to 90 degrees when viewed from the top. Do not reduce these angles below 30 and 60 degrees. Mark the spots where the strut bases will go, cutting the struts shorter if necessary. Install the strut bases, using backing plates or fender washers inside the boat.
Install the wind generator as per the manufacturer’s instructions.
If you have any questions or comments, don’t hesitate to contact us:
Hotwire Enterprises ph/fax: 727-943-0424 svhotwire@gmail.com